Archive for the ‘Uncategorized’ Category
Just wanted to let all of you know that I haven’t forgotten you, we just have a new addition to our lives that is taking up a lot of our time.
I am proud to present our little bundle of joy:
Kherington JoAnne Davis
Born September 19, 2011 at 10:21 p.m.
7 lbs. 12 oz. and 20 1/2 inches long
We are so happy our little one is finally here safe and sound and adjusting well to her new world, but needless to say this food blogger is a bit preoccupied with a new someone’s food consumption, among other things. I promise to return with some great features in October!
 The city of Chicago is synonymous with a couple of food items…Deep Dish Pizza (otherwise known as "Chicago Style"), a Chicago-style hot dog that ends up being more like a sandwich, and Italian Beef sandwiches. Now I’ve had me many a slice of Chicago deep dish in my day and even a few Chicago dogs…, but one thing I’d never had was Italian Beef. In fact, I actually kept insisting I didn’t like Italian Beef (even though I really had never had it). Yes….this is a tragedy I know, but true. Adam would ask me, “When was the last time you tried one?” and I kept insisting it was fairly recently. But honestly, I couldn’t remember…, in fact I think I probably had a bite of one as a kid and in my pickier days just decided it wasn’t for me. So over the years I had convinced myself that I just “didn’t like ’em…period!” But I knew for the sake of the blog, my husband constant pleading and insistence, and being a true foodie, I needed to give this quintessential sandwich a real try.
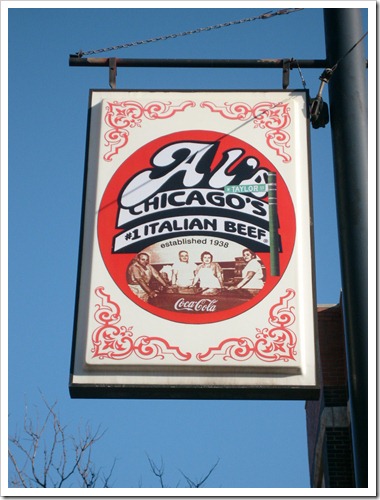
So, in the city of Chicago there are a more than a few spots that serve these famous beefy delights, but none are quite as well known or famous as Al’s Beef. “From its humble beginning back in 1938, Al Ferreri and his sister and brother-in-law, Frances and Chris Pacelli, Sr. began developing what is known today as one of the ‘Top 10 Sandwiches in America,’ a ‘Chicago Food Legend’ and ‘Chicago’s #1 Italian Beef Sandwich,’ an honor bestowed upon it by Chicago magazine”(http://www.alsbeef.com/company/about.asp). So although they created these sandwiches as a creative tasty necessity during the depression era, they soon grew to be so popular and notorious that they have over the years boomed into 14 locations around the Chicago-land area and they will even cater any type of event. They are so famed, in fact, that countless food writers, magazines, shows, famous guests…pretty much anyone and anything having to do with the food world have visited their restaurant and raved about the experience!
Adam and I were no strangers to the famous Al’s Beef name because if you live anywhere near the vicinity of Chicago, it’s hard to drive around and not see one somewhere. However sadly…, we never visited one while we lived in Chicago! It’s hard to believe thinking back, but because I had convinced myself I didn’t like Italian beef, it’s not surprising. In the end, we (and with Adam’s needling), we had to see it on countless TV programs before I realized just how good it looked. So lucky for us we travel back to Chicago often, and on a visit over my birthday weekend, we were able to stop in; and although there are many locations, we chose to visit the very first on Taylor Street in Chicago’s Little Italy.
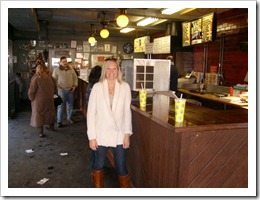
We knew on any given day that the lunch crowd here can be quite crazy, so we planned it so we were getting into town a little later and could enjoy not having a huge line. The original location really doesn’t have much in the way of “dining space.” It’s truly just a counter where you order and can step up and eat if you like, but if you know anything about these sandwiches, you know that “step up” or back as it actually happens, is the way to do it.
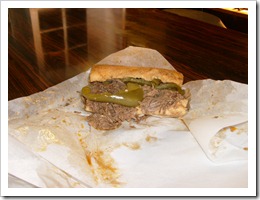
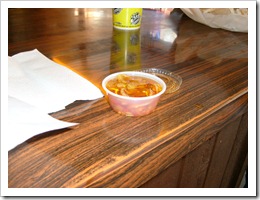
But back to the sandwich…the first option you are given is if you simply want the juice ladled on top, or if you want it dipped. If you choose to get your Italian Beef dipped, which I highly recommend you do, you will want to take "Da Italian Stance" (google it!) as they call it so as not to drip all over yourself. You also have the option of adding peppers and their giardiniera to the top of your sandwich, but each is completely up to you (although I will tell you that the peppers and giardiniera are a Chicago preference). Adam and I both chose to go with the peppers and then get some giardiniera on the side, simply for the sake of taste.
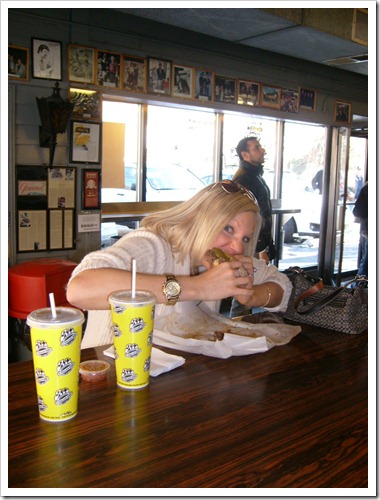
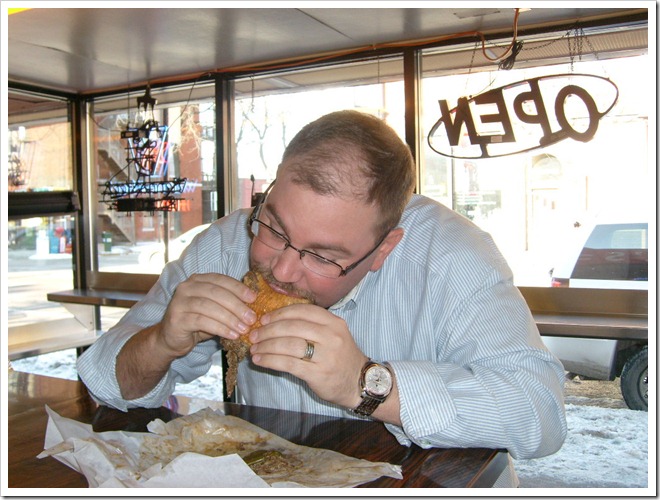
I’ll admit it right now that by convincing myself I didn’t like these sandwiches, I was missing out on years of pure beefy and juicy enjoyment! Sure…these sandwiches are messy, but literally so good you can’t help but to devour it in just a few bites….IT’S THAT GOOD! Not only is the flavor of the beef itself excellent, but it’s just so tender. Also, if you get it dunked it just compounds the flavor…which is so unique and not like any other meat sandwich I’ve ever had. I was glad I added the peppers cause they added a nice flavor and texture. Finally, I was also glad I opted to get the giardiniera on the side, because I was not a fan! I’m not really into spice…so this just wasn’t my thing. Overall, we wished we had not waited so long to enjoy this wonderful part about Chi-Town. Let’s just say I know it won’t be long before we are back for another visit for sure!
SIGNATURE DISH: The name of this place says it all…Italian Beef! Although they do have a few other Chicago favorites on their menu, people are truly coming here for the beef.
TASTE: As I said above, I am very disappointed in myself that I didn’t give these sandwiches a fair chance sooner, but I am so glad that I have grown up enough to do so, and I will never again make that mistake. I LOVE ITALIAN BEEF! There is just something so simple yet so perfect about the marriage of soft french bread, tender soaked roast beef, and green peppers all dunked to a juicy perfection. Like I said…the flavor is like no other steak sandwich I’ve ever had…Yum!
AMBIANCE: This is not a fancy sit down restaurant by any means, nor a real sit-down place either. There is simply a counter where you can mosey up to and eat quick. A very simple place, you can imagine what it was like 40 or 50 years ago and not much has changed except for the addition of pictures and other pieces of nostalgia added to the walls as Al’s has gained its notoriety. It is the perfect location for a food like the Italian Beef sandwich….very fitting.
SERVICE: Everyone was very friendly and fast…you just simply place your order at the counter and it isn’t long before that dripping beefy goodness is being placed in front of you. If you choose to take it to go, that is also a popular option, but I recommend eating in to have the full “stance” experience.
PRICE: Many places in the area have jacked up their prices due to their notoriety, but if Al’s has done that, it’s hard to notice. At around $5 for a sandwich and a drink, I consider this a deal…, especially in the city of Chicago.
Although I likely won’t succeed, I want to declare now that I am never again not going to try something because I have convinced myself I don’t like it based on never having tried it or trying it when I was very young. In this instance, I am SOOOO glad I opened up my horizons and tried this wonderful sandwich. We truly enjoyed our quick trip into Al’s Beef and give it an easy and deserving 5 ‘Little Piggies.’
 Wow! Can you believe it’s December already and Christmas is only a few weeks away? Umm…where did fall go? Well, I guess it’s gone, and the sure sign is that I’ve spent the last two days going through the Christmas decor, deciding what should be displayed, what we even have, and starting to put some of it out. So safe to say, now that Thanksgiving is over…Winter Wonderland is here; and one thing about the kick-off to the holiday season is that you can expect a month full of food, family, and holiday cheer. Although I love it all, for now, let’s stick to the food.
Since we bought a house, I knew this was the year I wanted to host Thanksgiving; and since neither of Adam’s or my family typically have a set plan each year, the opportunity was available for us to be the hosts…so excited! But what started out as a small get together continued to grow…and grow….and grow some more, and before I knew it, I was cooking for 14 people! Now I wasn’t scared of hosting so many people, I just wanted everything to come out “perfectly”…you know…the ‘Hostess with the Mostest’. ;) So I decided the easiest route would be to divide most of the side dishes among everyone coming and I would take on the turkey, stuffing, green beans, and deviled eggs. I knew I could easily take care of my other dishes the day before, leaving Turkey Day free to concentrate on that bird; and although I’ve made turkeys in the past, I’ve never tackled one this large (we got a 21 pounder) and never really following any recipe per se. But as my first big holiday hosting event, I really wanted to focus my attention on this signature dish and serve something that made a big statement.
Now when it comes to cooking a turkey, everyone has their own two cents to contribute on how to do it properly, and heaven forbid you don’t do it THEIR way. Well, too bad, cause I already knew the recipe I was going to follow based on an episode of Food Network’s "Good Eats" with Alton Brown we saw a few years back, which was even more cemented when my issue of Food Network Magazine showed up with Alton Brown’s version. It was a sure sign and I knew I was in good hands. Alton Brown is known for his no frills, let’s bring this dish down to its roots and find the best way to cook it approach, so I knew I really couldn’t go wrong with his turkey. However, I was using a larger bird than the recipe called for, meaning I would have to cook mine a bit longer, but that posed its own set of challenges which I’ll get to. But first, Alton’s recipe…
Good Eats Roast Turkey
Recipe courtesy Alton Brown, also featured in Food Network Magazine
- Prep Time:
- 15 min
- Inactive Prep Time:
- 7 hr 0 min
- Cook Time:
- 2 hr 30 min
- Level:
- Easy
- Serves:
- 10 to 12 servings
Ingredients
- 1 (14 to 16 pound) frozen young turkey
For the brine:
- 1 cup kosher salt
- 1/2 cup light brown sugar
- 1 gallon vegetable stock
- 1 tablespoon black peppercorns
- 1 1/2 teaspoons allspice berries
- 1 1/2 teaspoons chopped candied ginger
- 1 gallon heavily iced water
For the aromatics:
- 1 red apple, sliced
- 1/2 onion, sliced
- 1 cinnamon stick
- 1 cup water
- 4 sprigs rosemary
- 6 leaves sage
- Canola oil
Directions
Click here to see how it’s done.
2 to 3 days before roasting:
Begin thawing the turkey in the refrigerator or in a cooler kept at 38 degrees F.
Combine the vegetable stock, salt, brown sugar, peppercorns, allspice berries, and candied ginger in a large stockpot over medium-high heat. Stir occasionally to dissolve solids and bring to a boil. Then remove the brine from the heat, cool to room temperature, and refrigerate.
Early on the day or the night before you’d like to eat:
Combine the brine, water and ice in the 5-gallon bucket. Place the thawed turkey (with innards removed) breast side down in brine. If necessary, weigh down the bird to ensure it is fully immersed, cover, and refrigerate or set in cool area for 8 to 16 hours, turning the bird once half way through brining.
Preheat the oven to 500 degrees F. Remove the bird from brine and rinse inside and out with cold water. Discard the brine.
Place the bird on roasting rack inside a half sheet pan and pat dry with paper towels.
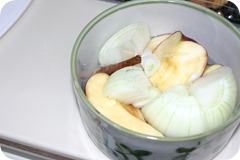
Combine the apple, onion, cinnamon stick, and 1 cup of water in a microwave safe dish and microwave on high for 5 minutes. Add steeped aromatics to the turkey’s cavity along with the rosemary and sage. Tuck the wings underneath the bird and coat the skin liberally with canola oil.
Roast the turkey on lowest level of the oven at 500 degrees F for 30 minutes. Insert a probe thermometer into thickest part of the breast and reduce the oven temperature to 350 degrees F. Set the thermometer alarm (if available) to 161 degrees F. A 14 to 16 pound bird should require a total of 2 to 2 1/2 hours of roasting. Let the turkey rest, loosely covered with foil or a large mixing bowl for 15 minutes before carving.
As stated above, the process began by first thawing our bird, then allowing it to brine overnight. This step is a bit tricky, not because the brining prep is hard, but finding something big enough to hold both the brine and bird while keeping it cold overnight is a bit challenging. We finally decided upon a galvanized drink bin we had in storage and it really worked well by holding all the ingredients, the bird, and keeping it mostly submerged. We then kept it covered in the garage overnight, because here in Indiana it was cold enough!
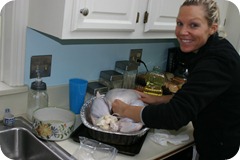
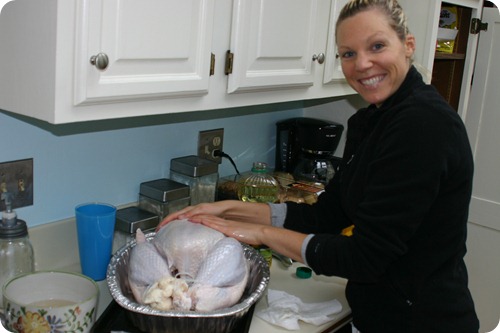
Thanksgiving day, I brought in the bird and got busy making the aromatics that would be placed inside the bird while it cooked. This part was also very easy, just a bit of chopping and then microwaving while I cleaned the bird. After the turkey was cleaned off and in the pan, I was able to stuff the aromatics inside and generously coat him with oil….I mean I oiled that bad boy up!
Don’t mind the really appealing hair and no makeup, I had just gotten back from a run. ;)
This is where I kind of messed up the recipe a little bit. As you will read above, you roast the turkey at a very high temp for a half hour, then drop the temperature down to finish cooking, which should take, according the recipe, 2 – 2 1/2 hours. Somehow, when I read that, knowing I was cooking a larger bird that would need more time and that we were planning on eating at 4, for some reason decided to put the turkey in at 10! What I failed to think about is that when you brine a turkey…1. it takes less time to cook; and 2. even if ours took a little longer because of the size, I HAD GIVEN MYSELF 6 HOURS! What was I thinking? I’m still not sure how I messed up the math, but now I was looking at a bird that was going to be done WAY TOO early; and I knew when his internal temp was only 10 degrees away from being done around 12 that I was in trouble.
Luckily after a call to my father-in-law, and Adam making me take a few deep breaths, we came up with a solution that ended up working best in the end. I ended up turning off the oven and covering the turkey with 3 layers of foil wrapped very tight. About an hour later I checked the temperature and basted him thoroughly. For the next 2 hours, I continued this process, until turning the oven back on to let him cook through. About 3 o’clock we pulled the turkey out, kept the foil on and let him set while we prepared the rest of the dishes. By the time 4 rolled around, we had a little guy who looked like this…
That is actually the picture of the same turkey on the cover of the magazine, however, ours looked pretty dang close. Due to the craziness that ensued right before getting dinner on the table, I was more concerned with making sure all the food was done and accounted for than I was about taking a picture. So, needless to say, the "finished" pictures got forgot in the craze. I must admit, though, although I was so scared that our change in method had dried the turkey out, I was just as excited when Adam began carving and it was juicy, cooked through, and smelled wonderful! Those aromatics seriously did their job, and this bird came out perfect and with raving reviews from all!
TASTE: I love me some turkey, especially on Thanksgiving; and I think this is one of the better turkeys I have ever had. I am not just saying this because I made it, but the combination of brining and the aromatics seriously made this bird great! You can really smell the apple when you begin carving, and although no one flavor sticks out when you are eating, all the nuances come together in such a way that makes this bird juicy, savory, and just plain yummy. Alton truly has it down to a science and it is that science that allows all the flavors to really work their magic.
EASE OF PREPARATION: The actual preparation of both the brine and bird are really straight forward and the directions are easy to understand. Any cook, even with no training, can successfully put this all together, which is why I think so many people appreciate Alton’s recipes. It’s that simple yet effective method that we all can learn and follow.
COST: I would say that this is truly a dish that does not cost a lot, but comes out smelling and looking gourmet. All the ingredients it required, except for the candied ginger, we either already had or were easy enough to get. The bird itself did not cost us a ton, because our grocery store was having a great deal and we scored our 21 pound bad boy for about $15. So overall, very cost effective!
COMPLEXITY: As I kind of mentioned above, this dish is not complex at all, which is what makes it so great. The hardest part of it all is getting the bird and brine to fit in one container. But from there it is easy peezy. I ran into a few problems, but that was due to my own poor planning; but if I’m being honest, I would cook a bird like this similarly again, because allowing it to kind of cook on its own in the foil seems to have made it cook slower, allowing it to be juicier.
PORTION SIZE: We had a larger bird than the recipe called for, but I was feeding 14 people, so I wanted to make sure we had enough. Let’s just say we had more than enough, so much so that we have had quite a few sandwiches from left-overs (I’m not complaining); and tonight I am making turkey pot pies with the rest. So even if you went with the smaller bird, this would still feed a crowd.
I was very pleased with how our turkey came out and I am not sure I would mess around with trying to find another recipe. I knew this one was a winner, crowd pleasing, and easy to follow from the get go. With that, I give Alton Brown’s Good Eat’s Roast Turkey 5 ‘Little Piggies’!


